
If you want to know how to set up Google Ads account, the short answer is this: go to ads.google.com, sign in with a Google account, add your business details, choose your campaign goal, set your budget, add billing information, and submit your account for verification. That’s the entire process in one sentence, but doing it correctly, especially the verification and billing steps, is where most business owners in Dubai and across the UAE run into trouble. In this guide, we’ll walk through every step in detail, and since Skills Heaven offers Google Ads management services right here in Dubai and Sharjah, we’ll also point out where local businesses commonly get stuck and how to avoid it.
Whether you’re a small business owner in Dubai trying to get your first leads from Google Search, or a marketing manager setting up accounts for multiple clients, this guide covers everything: how to create a Google Ads account from scratch, how to add users and give agency access, how to complete advertiser verification, and even how to delete an account you no longer need.
What Is a Google Ads Account?
A Google Ads account is the dashboard you use to create, manage, and track paid advertising campaigns across Google Search, YouTube, Gmail, the Google Display Network, and Google Maps. Think of it as the control center for every ad you run through Google. Inside this account, you set your budget, choose your target audience, write your ad copy, track conversions, and see exactly how much you’re spending and earning from each campaign.
Every Google Ads account is tied to a Google account (usually a business Gmail address), and it comes with a unique 10-digit Customer ID that identifies your account across Google’s systems. This ID becomes important later when you need to link accounts, invite team members, or request access from an agency.
Why Businesses in Dubai and the UAE Are Investing in Google Ads
Search intent in the UAE market is extremely high. People searching for services like movers, renovation companies, chauffeur services, or clinics are often ready to buy within days, not months. A properly configured Google Ads account lets you appear in front of these high-intent customers the moment they search, rather than waiting months for organic rankings to improve through SEO alone.
That said, running ads without a correctly structured account often leads to wasted budget. This is exactly why many businesses choose to work with a specialist for Google Ads management in Dubai rather than configuring everything on their own. A single mistake during setup, like choosing the wrong conversion goal or skipping conversion tracking entirely, can cost thousands of dirhams in wasted spend before anyone notices.
What You Need Before You Set Up a Google Ads Account
Before you start the sign-up process, gather the following:
- A Gmail address or an existing Google account you’ll use to manage the account
- Your business name exactly as it appears on your trade license or website
- Your website URL (or a landing page if you don’t have a full site yet)
- A valid payment method, such as a credit card, debit card, or PayPal, depending on your billing country
- Your business location and the currency you want to be billed in
- Access to your Google Business Profile and YouTube channel if you plan to link them
Having these ready before you begin makes the setup process much faster and reduces the chance of errors that could delay verification later.
How to Set Up a Google Ads Account: Step by Step
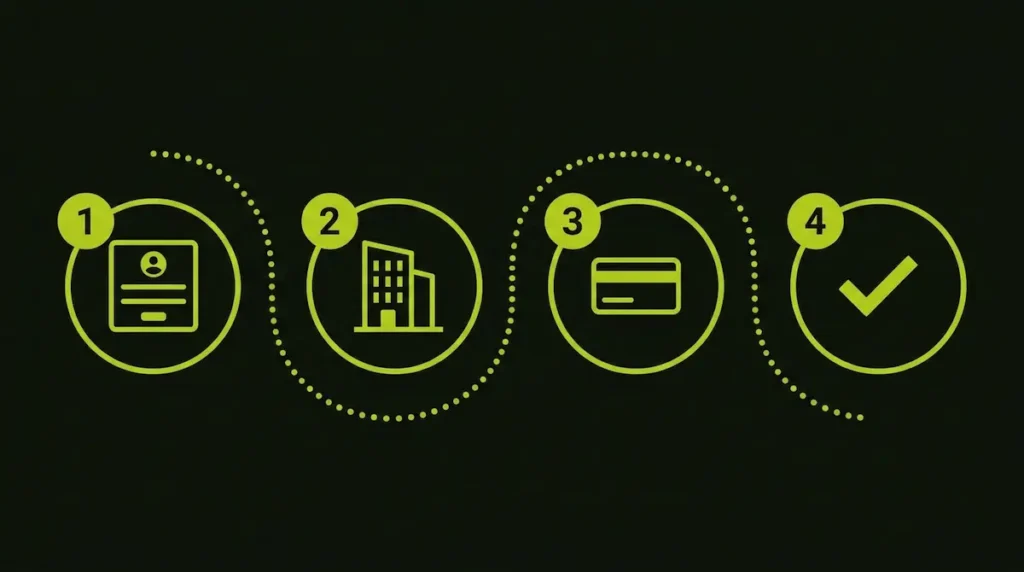
Here is the complete process for how to create Google Ads account, broken down into clear steps.
Step 1: Go to the Google Ads Sign Up Page
Visit ads.google.com and click “Start Now” or “New Customer.” If you’re already signed into a Gmail account in your browser, Google will use that account automatically. If not, you’ll be asked to sign in or create a new Google account first.
Step 2: Switch to Expert Mode (Recommended)
Google often pushes new users toward “Smart Mode,” a simplified setup with automated settings and limited control. For most businesses, especially those planning to run serious campaigns, switching to Expert Mode is the better choice. It gives you full access to campaign types, targeting options, and reporting tools that Smart Mode hides. Look for the small link near the bottom of the setup screen labeled “Switch to Expert Mode” or “Create an account without a campaign.”
Step 3: Add Your Business Information
Enter your business name and website URL. Google uses this information to understand your industry and pre-fill suggestions for keywords and ad copy later. Make sure the business name matches your official branding exactly, since mismatches can trigger issues during advertiser verification down the line.
Step 4: Set Your Campaign Goal (Or Skip It)
Google will ask what you want to achieve: more calls, more website visits, more store visits, or app downloads. If you’re only focused on setting up the account for now and plan to build campaigns properly later (which we strongly recommend), choose the option to create the account without a campaign. Rushing into a campaign before your account and tracking are properly configured is one of the most common reasons ad budgets get wasted.
Step 5: Link Your Existing Accounts
If you already have Google Analytics (GA4), a Google Business Profile, or a YouTube channel, link them now. This step saves time later and helps Google generate smarter recommendations, since it can pull real data from your existing digital presence instead of guessing.
Step 6: Choose Your Billing Country, Time Zone, and Currency
This is one of the most important steps in the entire process because these three settings cannot be changed once your account is created. Select the billing country where your business is legally registered, the correct time zone for accurate reporting, and the currency you want to be billed in (AED for most UAE businesses). Double-check everything here before moving forward.
Step 7: Enter Your Payment Details
Add your credit card, debit card, or other accepted payment method. You may see a small temporary authorization charge on your card, which is normal and usually removed within a few days. Google will not allow any ads to go live until valid billing information is on file.
Step 8: Submit and Confirm Your Account
Once your payment details are added, click Submit. Your Google Ads account is now created, and you’ll receive a confirmation email. At this stage, your account exists, but depending on your industry and location, you may still need to complete advertiser identity verification before your ads can actually run.
How to Complete Advertiser Verification in Google Ads
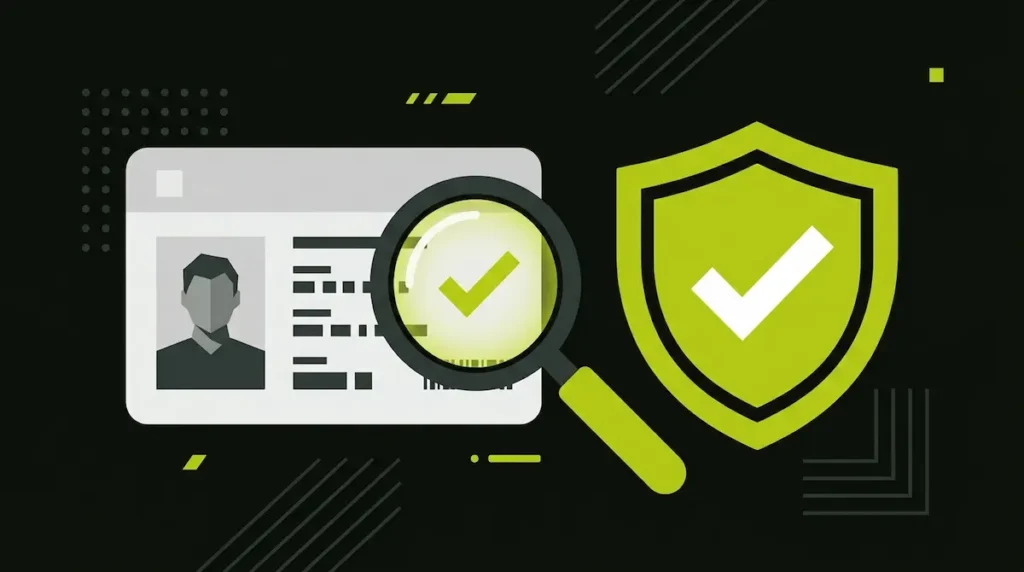
Google requires many advertisers, particularly those in certain regions or industries, to complete an identity or business verification process before their ads go live. Here’s how to complete advertiser verification in Google Ads:
- Open your Google Ads account and look for a notification banner about “Advertiser Verification” or check under Tools and Settings, then Billing.
- Click “Start Verification” when prompted.
- Choose whether you’re verifying as an individual advertiser or a business/organization.
- Upload the requested documents. For businesses, this usually means a trade license or official business registration document. For individuals, a government-issued ID is typically required.
- Confirm the billing address and business name match the submitted documents exactly.
- Submit and wait. Verification can take anywhere from a few hours to several business days, depending on the volume Google is processing.
If your verification gets rejected, the most common reason is a mismatch between the name on your documents and the name entered in your Google Ads account. Correcting this small detail resolves the issue in most cases. Businesses that struggle with this step often benefit from professional Google Ads management in Dubai, since agencies that manage this daily know exactly which documents Google accepts and how to avoid rejection.
How to Add a User to Google Ads
Once your account is live, you’ll likely need to give access to a team member, freelancer, or agency. Here’s how to add a user to Google Ads:
- Sign in to your Google Ads account.
- Click the tools icon (wrench symbol) in the top right corner.
- Under “Setup,” select “Access and security.”
- Click the plus button to add a new user.
- Enter their email address and choose their access level (Admin, Standard, Read Only, or Email Only).
- Click “Send Invitation.” The person will receive an email and must accept it before access is granted.
How to Add Someone to Google Ads Manager
If you’re working with a manager account (also called an MCC), the process for how to add someone to Google Ads manager is slightly different:
- Sign in to your manager account.
- Go to “Access and security” under the Admin section.
- Click the plus icon and select “Invite a user.”
- Enter their email and assign the appropriate access level.
- Once accepted, that person can manage all linked client accounts under the manager account, depending on their permission level.
How to Request Access to a Google Ads Account
If you’re an agency, freelancer, or new team member who needs access rather than granting it, here’s how to request access to a Google Ads account:
- Find your own Google Ads Customer ID (the 10-digit number shown at the top of your account).
- Share this ID with the account owner.
- Ask the owner to go to Access and Security, click the plus icon, and enter your email or Customer ID.
- Accept the invitation email once it arrives, or check the notifications bell inside your own Google Ads account.
This is exactly the process our team follows when new clients bring us in to manage their existing Google Ads accounts, since it keeps full ownership with the business while giving us the access needed to optimize campaigns.
How to Delete a Google Ads Account
Sometimes a business needs to close an account entirely, whether due to restructuring, switching to a new account, or simply no longer running ads. Here’s how to delete a Google Ads account:
- Sign in to the account you want to cancel.
- Click the tools icon, then select “Preferences” under Setup.
- Scroll to “Cancel your account.”
- Click “Cancel Account” and confirm.
Keep in mind that canceling pauses all campaigns immediately and removes access for all users. Historical data usually remains accessible for a limited time afterward, so it’s worth exporting any reports you need before finalizing the cancellation. If you’re closing one account only to open another, it’s often smarter to simply pause campaigns and adjust billing instead of deleting a Google ad account outright, since you’ll lose your account history and any accumulated optimization data.
Common Mistakes Businesses Make When Setting Up Google Ads
Even after learning how to set up a Google Ads account, many businesses still lose money through avoidable errors:
- Skipping conversion tracking setup, which makes it impossible to know which ads are actually generating leads or sales
- Choosing Smart Mode without realizing it limits targeting and reporting options
- Entering the wrong billing country or currency, which cannot be changed later
- Launching campaigns immediately instead of structuring the account properly first
- Ignoring advertiser verification requirements until ads get disapproved
These small missteps are part of why many Dubai-based businesses choose to bring in a specialist for Google Ads management in Dubai rather than handling the technical setup internally, especially when they’re also trying to run daily operations.
Why Work With a Google Ads Specialist Instead of DIY

Setting up the account itself is fairly straightforward, but building an account structure that actually converts is a different challenge entirely. It involves proper campaign segmentation, keyword research suited to UAE search behavior, conversion tracking linked correctly to GA4, and ongoing optimization based on real performance data.
At Skills Heaven, our team handles the complete process, from account setup and advertiser verification to campaign structuring and monthly optimization, for businesses across Dubai, Sharjah, Abu Dhabi, and the wider GCC. If you’d rather focus on running your business while a certified team manages your Google Ads account, you can explore our Google Ads management Dubai services or book a free strategy call to discuss your goals.
Google Ads doesn’t work in isolation either. Many of our clients pair paid search with Local SEO to capture both immediate leads and long-term organic visibility, and reviews play a bigger role in that combination than most business owners realize. Strong ad performance also depends heavily on your landing page and overall digital marketing strategy working together rather than existing as separate efforts.
Frequently Asked Questions
What is a Google Ads account used for?
A Google Ads account is used to create, manage, and track paid advertising campaigns on Google Search, YouTube, Gmail, and the Display Network. It’s where you set budgets, target audiences, write ads, and monitor results like clicks, conversions, and cost per lead.
How long does it take to set up a Google Ads account?
The basic sign-up process takes about 10 to 15 minutes. However, advertiser verification can take anywhere from a few hours to several business days, depending on your industry, location, and how quickly Google processes your submitted documents.
Do I need a website to create a Google Ads account?
Technically, you can create an account without a fully built website by using a landing page or even a Google Business Profile link. However, a proper website significantly improves ad approval rates and conversion tracking accuracy.
Can I add multiple users to one Google Ads account?
Yes. You can add multiple users with different access levels, including Admin, Standard, Read Only, and Email Only, through the Access and Security section under Tools and Settings.
What happens if my advertiser verification gets rejected?
The most common cause is a mismatch between your submitted documents and the business name entered in your account. Correct the name to match exactly and resubmit your verification request.
Is it better to delete a Google Ads account or just pause it?
If you might run ads again in the future, pausing campaigns is usually smarter than deleting the account, since deletion removes your historical performance data and optimization progress permanently.
If you’d rather skip the technical setup entirely and go straight to running campaigns that actually generate leads, our team at Skills Heaven manages the full process for businesses across Dubai and the UAE. Book a free strategy call, and we’ll set up, verify, and structure your account correctly from day one.

M. Awais Khan is a Business Development and Digital Growth Strategist at SkillsHeaven, specializing in SEO, local search optimization, and performance-driven digital marketing. With experience supporting 100+ businesses, he develops and implements data-driven strategies that help companies increase online visibility, generate qualified leads, and drive sustainable revenue growth. His expertise spans Local SEO, Google Ads, social media marketing, and conversion-focused website optimization, ensuring every project is aligned with measurable business outcomes and long-term success.